


Sloped Yard Landscaping That Won National and State Landscape Awards
Some backyards whisper potential. This one practically yelled it from the hillside. Set against the foothills of Colorado Springs, this property began as a steep,
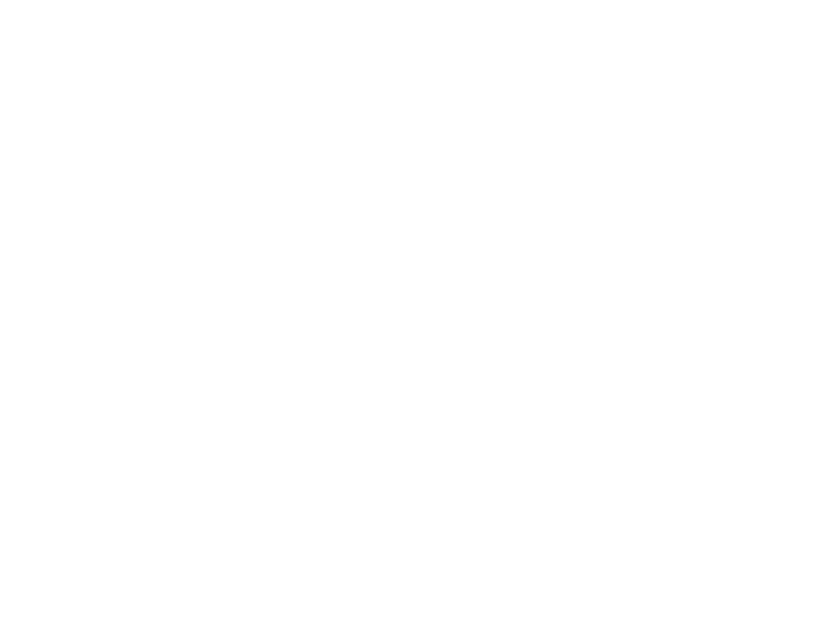
Luxury Outdoor Lighting That Transformed a Colorado Springs Estate
There are homes that look beautiful during the day. Then there are homes that completely transform after sunset. Tucked beneath the towering pines and rolling
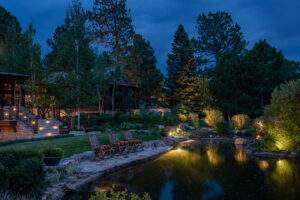
The Invasive Emerald Ash Borer: Protecting Colorado’s Ash Trees
The invasive Emerald Ash Borer continues its relentless spread through Colorado, presenting a growing threat to our state’s diverse ecosystems. With its presence now confirmed
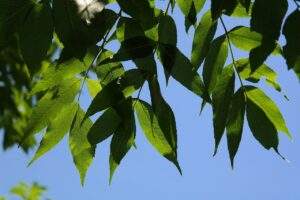
Award-Winning Commercial Landscape Maintenance for the U.S. Olympic & Paralympic Training Center
When it comes to commercial landscape maintenance, few properties carry the visibility, complexity, and significance of the U.S. Olympic & Paralympic Training Center in Colorado

Winter Landscape Maintenance Tips for a Healthy Yard
Winter landscape maintenance plays a critical role in protecting your yard during Colorado’s harshest months—even when everything appears dormant. Winter has a reputation for putting
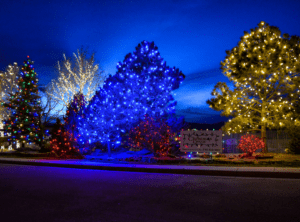
Holiday Lighting & Décor at Every Scale: From Family Homes to Commercial Properties
The Holidays Hit Different When the Lights Come On! There’s a very specific kind of magic that happens the first time holiday lights glow against